E-commerce - 27 MIN READ


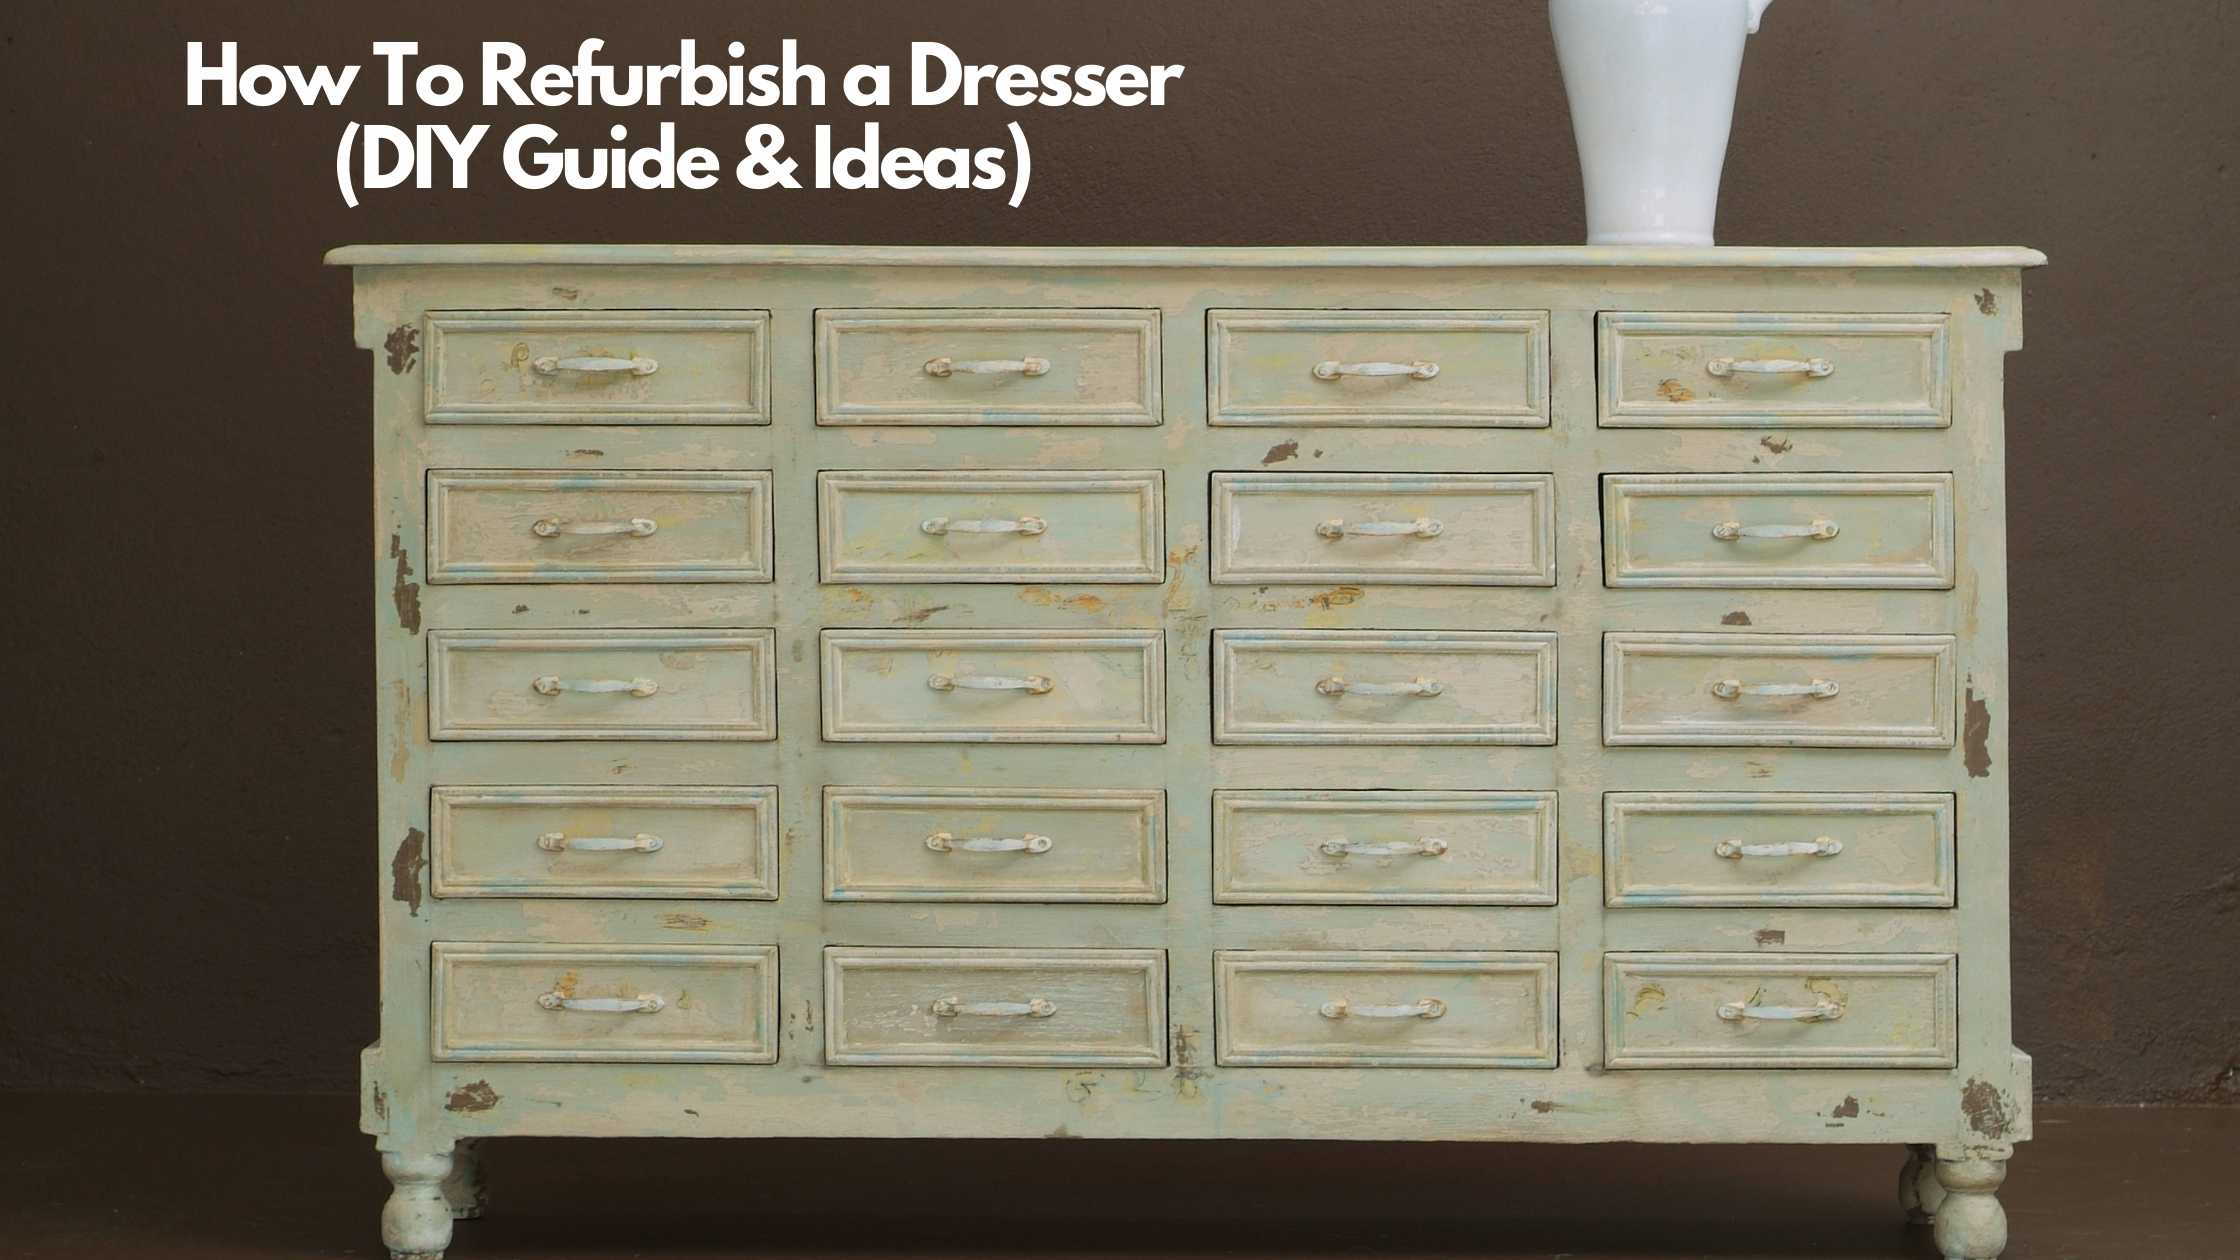
Listen, if you’re thinking of selling your old dresser for a new, contemporary one, hold that thought.
With the right tools and supplies, you can turn it into a swanky dresser, much like what you’ve probably seen and coveted on Pinterest or Instagram.
You don’t even need to have outstanding carpentry skills, because there are tons of refurbishing dresser ideas and DIY tips online, which you can employ to help you achieve incredible results.
To get in on it, read this handy article for DIY tips and ideas on how to refurbish a dresser.
To refurbish an old dresser, you need basic carpentry tools and supplies such as a set of screwdrivers, sandpaper, paintbrushes, rollers, and a protective finish.
However, depending on the design style you’re targeting, you might need additional decorative supplies like wallpaper or stencils, mirrors, beads, and more for heightened effect.
To begin the dresser restoration, prepare the work station. For this, you’ll need to ensure that there is enough ventilation and protection for your skin, eyes, and lungs.
As much as DIY projects are simple and fun, safety must always come first. Make sure you’re always dressed in long pants and long-sleeved shirts while working.
Want to know exactly what you’ll need?
Below is a detailed list of tools and supplies for your DIY refurbished dresser.
This cheesecloth saturated with beeswax is the most ideal for wiping off residue as it ensures all particles are easy to remove and creates a polished finish.
This is suitable because it absorbs a lot of paint, meaning it’ll be useful when painting a smooth surface. It also applies thin coats and has minimal lap marks.
Sanding removes imperfections to create a nice smooth finish for the paint to settle adhesively.
This is a chemical solution that works in the same way as sandpaper. It’s gentle on wood but tough on paint and varnish. And although it’s more effective, it’s also quite expensive.
This is useful to scrape off the loose paint debris after you’ve applied the wood stripper. Read this article to know how to select the right one.
This brush is perfect for oil-based paints, stains, and clear coats. Its soft flexibility makes it easy to apply a thin, even layer of paint to reduce streaks and distribute the paint evenly, unlike synthetic brushes.
It helps to seal off the areas you don’t need to paint, ensures neatness without messy edges, and saves on time.
This is an inexpensive way to seal off your makeshift work area to ensure that there are no spills or untidiness.
This soap hardly ever causes scratches on surfaces, and it is therefore recommended for cleaning wood, marble, and other sensitive surfaces.
These include chemical resistant gloves, goggles, and a respirator mask (with new organic vapor cartridges) guarantee your safety from accidental spills, splashes, and fumes.
As you hone your DIY skills, you’ll discover with time the tools and supplies that deliver your preferred looks and that you prefer to work with.
To start the refurbishment, use a screwdriver to remove and set aside all the old dresser’s hardware. These comprise fittings like handles, pulls, and knobs.
Removing them makes it easy to refurbish the old dresser since it’s not loaded with stuff.
With your old dresser dismantled for ease of working, do some prep work by cleaning it thoroughly.
Use water mixed with non-abrasive soap that’s gently soaked in a lint-free cloth to wipe it down to effectively remove dust, grime, and any unnecessary stains.
Ensure everything is squeaky clean and dry before you proceed to the next step.
After the cleanup, the next crucial thing is to remove the old finish. This is where the bulk of the work is and also the most important step for your DIY refurbished dresser.
But before you can proceed, have you figured out the type of finish: Is it stain or paint? If the wood grain is visible, the finish is stain. If not, it’s paint.
To remove it, you can either use a wood stripper or sandpaper. Your decision will largely depend on what will be most effective or your preference.
Also, if you’re wondering how to know the right sandpaper to use, the best way is by testing sandpaper on small sections of the old dresser.
Just so you know, sandpapers are classified as:
Wood stain is especially challenging to remove because some types of stain don’t just stay on the surface, they absorb into the wood grain.
To effectively be rid of the stain, you’ll need to remove the old dresser’s top layer by sanding it with medium-grit sandpaper.
What’s more, most wood surfaces that have stain either have varnish or paint. This technically means that you’ll need to remove the paint or varnish first by using the wood stripper before sanding.
If you opt for sandpaper, you’ll need to use medium-grit and fine-grit sandpapers, respectively, to get that desired smooth finish.
In case you proceed with the wood stripper, don’t forget to wear protective goggles, a respirator mask, and gloves.
Apply a thick layer of the wood stripper on the wood surface and even add a second coat if the first one dries before you’ve scrapped it off the first time.
You’ll know when to scrape when the old finish starts to bubble up and loosen. For residue in the crevices and cracks, use the bristle brush to clear it off.
Once the stripping is done, sand the drawer’s surface and wipe off the chippings and sawdust with a tack cloth.
Repeat this process until all the blemishes are removed. The idea is to make the surface as smooth as possible for a perfect finish.
If you plan to repaint, don’t use the wood stripper. Instead, just sand it thoroughly using the medium or fine-grit sandpapers.
Once you’ve achieved a perfectly smooth surface, it’s time to refurbish the old dresser properly by applying the pre-stain wood conditioner.
Why should you apply it? It’s essentially a treatment for better, even color. It’ll prepare your already perfect surface for an astonishing stain finish.
If the type of wood used on your dresser is highly porous (tends to absorb moisture), then a wood conditioner is a necessity that can’t be ignored. Examples of porous wood are pine, fir, cherry, and birch.
Before you make the purchase, find out which wood conditioner suits your type of wood and the stain to apply.
When applying the wood conditioner, always make sure it’s in the direction of the wood grain. Give it about a quarter of an hour to penetrate, then wipe off the excess with the tack cloth.
If your wood is super absorbent, apply several coats of the wood conditioner till it has satisfactorily penetrated the wood pores. You can then clean the surface with spirit.
Also, don’t let the conditioner dry out for too long, as this could worsen your wood stain. Especially if you’re aiming for a rich and dark look, don’t let it dry completely.
However, the application will be determined by the final look that you’re aiming to achieve. If you want a light stain, then it’s okay for the wood conditioner to dry out.
Whether your new finish is stain, paint, or varnish, stir it thoroughly to a very fine mix and then spread it evenly on the surface of the dresser using the paintbrush. Note that you should only apply it two hours after the wood conditioning.
If, for instance, you’re working with stain, give it about ten minutes after application to soak in till the desired outcome is achieved, then wipe off any excess.
Water-based stain adheres best to wood and is easy to wipe off. Unlike paint, when stain dries, it becomes excessively sticky and never really cures.
To achieve a dark look, you might need to recoat it at least twice or thrice. Follow the manufacturer’s advice on drying duration, which could be anything from 6 to 24 hours.
On the other hand, if you’re working with paint, apply at least three thin coats of paint with the mini foam roller while allowing for six to eight hours between each coat. The other alternative is to use a paint sprayer or spray cans (with nozzle).
The foam roller is ideal for the main surfaces, while a paintbrush aids in accessing the hard-to-reach crevices. Start by painting the crevices, then use the roller or sprayer to prevent visible brush strokes.
You need to sand in between coats using fine-grit sandpaper to ensure you attain a smart, even finish. More importantly, always wipe any drips and residue with a fresh new tack cloth.
To complete the paintwork, apply a top coat because no matter how super the paintwork turns out, it won’t withstand daily wear and tear. Top coats of paint create a virtually impenetrable barrier from moisture and UV rays.
A top coat can be applied 24 hours after the last coat of paint has dried. Most paints dry within two to four hours but most need to cure for several weeks.
Curing, as opposed to just drying, reduces the peeling of paint, chipping, and scratching. Also, don’t close the doors, drawers, or place anything on the old dresser until the paint has cured.
If the hardware has some paint, soak it overnight in soapy water or scrub it with a plastic brush. Use an old toothbrush to get into all the crevices of the hardware to remove build-up and other debris.
Since you’ll most likely use spray paint, it’s advisable to set up your workstation outdoors if the weather allows.
For sanding, use fine-grit sandpaper and then wipe it down thoroughly with a tack cloth to remove any hint of residue.
To effectively paint the hardware, figure out how to position it to have access to the front, back, and sides.
Restoring old dressers isn’t confined to the paintwork. You can adorn them with decor trinkets and accessories, replicate amazing designs on them, or even replace the hardware with fancy ones.
Below are some refurbishing dresser ideas, options, and tips for more effects that you should consider.
Ever wondered how to apply texture with fabric while restoring old dressers? Wonder no more, and instead, check out the guide below on how to get it done.
Practice the technique until you master it. You can play around with it by trying different colors and textured fabric to come up with your own designs.
Once you do it and like the outcome, seal the design with a protective finish to preserve it from wearing out.
You know you want to switch things up with your old dresser but are either pressed for time or cash. Would replacing the hardware only be a viable option?
If yes, below are some tips for ideas on how to refurbish a dresser’s hardware by replacing it:
Purchase new ones or change the style from pulls to knobs or vice versa, depending on what appeals to you. You could consider marble and crystal knobs for their timeless and classy look.
Don’t throw out those lego blocks, old taps, or mini sculptures. Get some bolts and nuts or screws and reuse them as hardware for your old dresser. There are loads of snazzy items around your house that you can refurbish into fitting hardware for your old dresser.
Alternatively, you can opt to change the color of your current hardware by spraying or hand painting it. In fact, paint is one of the most underrated decor supplies with the potential to deliver an instant transformation.
The process of sanding takes time, and if there’s an option to refurbish a dresser without sanding, most people would likely jump at it.
To paint over varnished wood, you need to adequately prep it by wiping it down with a non-abrasive soapy solution and a lint-free fabric. Use an oil-based primer because it’s bound to stick to varnished or sealed wood.
However, be keen when selecting the oil-based primer because what you’ll need is a primer that can coat any surface but under the paint.
If you’d like to know how your newly acquired DIY dresser restoration skills can be profitable, read this article.
And when you’re ready to sell your newly refurbished dresser, consider listing it on Sheepbuy. We don’t charge a commission on sales and, if you’re on the basic tier, you can have up to three active listings, for free. Find out more about all our tiers here.
Looks like you won’t be short of refurbishing dresser ideas for your old dresser.
If you apply these newly acquired DIY skills exceptionally well, you’ll be surprised by how you can recreate and give not just old dressers a fresh lease of life but any furniture for that matter.
In summary of the steps you need to take for a DIY refurbished dresser:
Have fun as you refurbish your older dresser.