E-commerce - 27 MIN READ


There is nothing as terrifying as the thought of your precious wood furniture being submerged in water. What makes it even more unbearable is that the longer it stays in water, the more extensive the damage and the likelihood of it becoming irreparable.
If this ever happens or has already happened, you need to know how to fix swollen wood. The decision will, however, depend on its value, level of damage, and the cost of restoration.
If you decide to salvage the furniture, this article has comprehensive details on how to fix water-damaged swollen wood furniture. Read on.
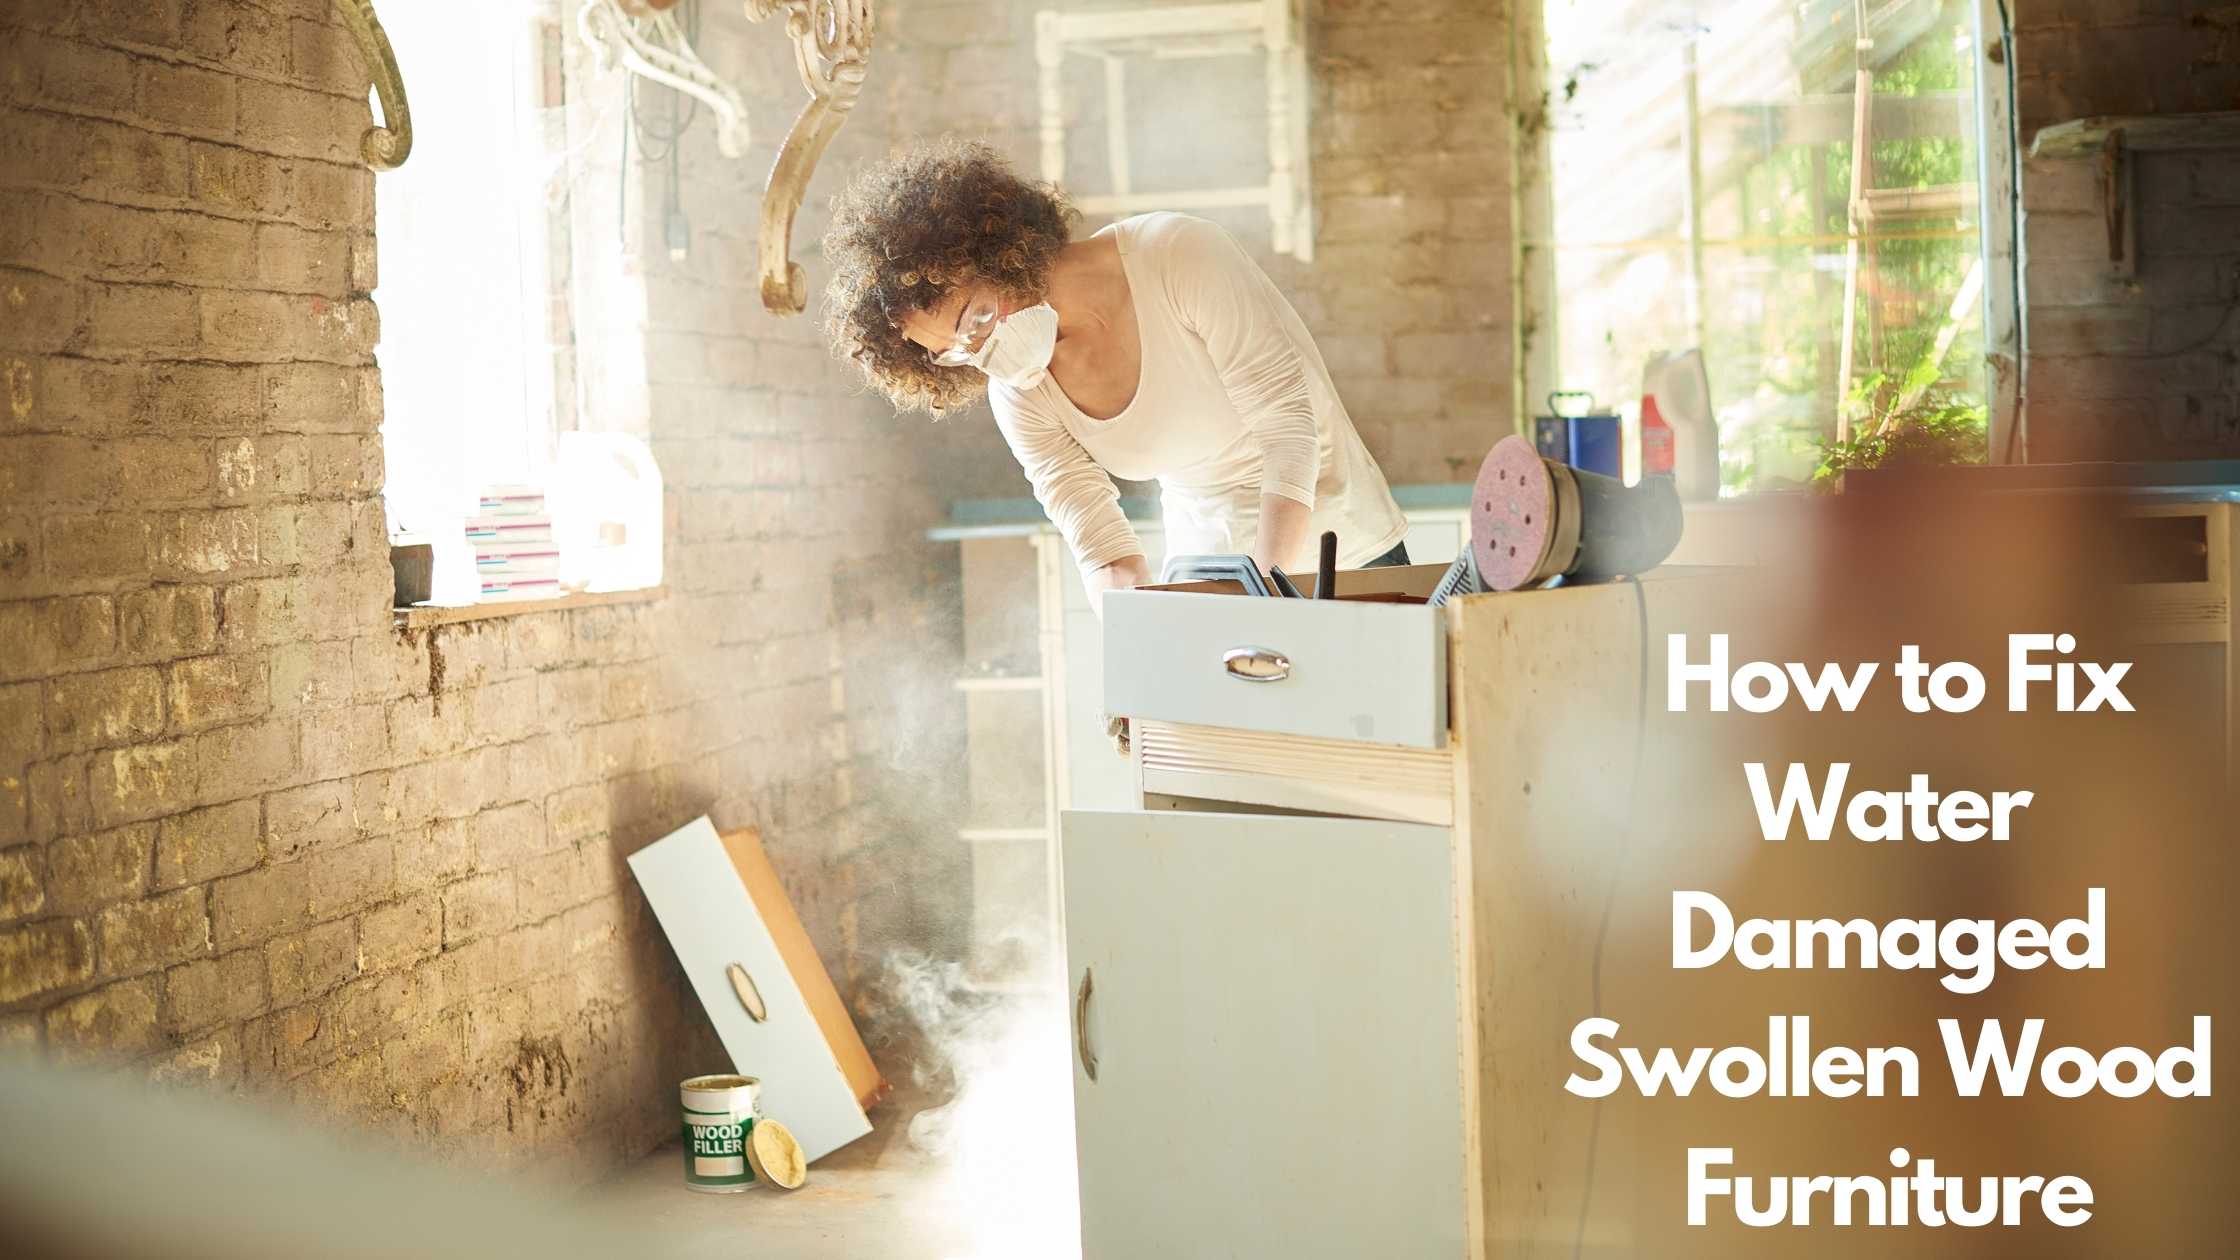
To fix water damaged furniture, you need a set of tools to get the job done effectively.
The type of tools and supplies depend on the degree of damage. Is the furniture stained, warped, cracked, or swollen?
Whatever the case, these are some of the tools and supplies you’ll need.
Before you can even commence the restoration work, you need to dry the wood completely. If it’s still moist, it will be impossible to fix, and you’ll have to either purchase new furniture or dispose of it.
The drying process can be done either by leaving it out in the sun for not more than three hours, or by using heating appliances like an iron box, fan, or air-conditioner. This is a useful tip on how to fix a swollen wood table.
During the drying process, ensure that the heat is moderate and that the process is slow and gradual. If done too fast and at high temperatures, you run the risk of the wood cracking, which is a whole other issue.
Certain fungi like mold and mildew thrive on moist surfaces.
Unfortunately, some mold is toxic to humans, while all mold is significantly damaging to the materials it infests. But, before you set about clearing it off, consult your doctor to be sure that you’re not allergic to it.
If you are allergic, get a professional to do the job. If you’re not allergic, wear some protective gear before proceeding with the cleaning.
Since you don’t want any of the spores falling off inside your house and creating multiple problems, do the cleaning outdoors.
As soon as the furniture has dried, use some bleach water mixed with detergent and gently soak in a rag to wipe off any fungi, dirt, and stains.
Once you’ve finished cleaning off the fungi and other dark spots, the next step is to scrape off old paint, varnish, or any other impurities with sandpaper.
This is a critical part of the restoration, so you should strive for perfection. It evens out the wood to clear away all flaws and paves the way for restoration.
Wood is sturdy, resilient, and flexible, that’s why it’s a suitable material for all sorts of furniture and construction work. However, for it to retain these qualities, it must be adequately prepared by ensuring that it has the right percentage of moisture content.
To be sure that the wood contains the required moisture content of 6 to 9% for woodwork, use a moisture meter to confirm.
If it gives a reading that’s higher than the required percentage, curing has to be done to ensure that it doesn’t distort or deform over time.
Oiling is the soaking of the wood in natural vegetable oils to protect it from premature aging, enhance its aesthetic appeal, and protect it from breaking or cracking.
The oils that come in liquid form penetrate deeply into the wood structure, hardening it from the inside. Once the oil is fully absorbed, wipe off the excess.
The wood surface needs to be squeaky clean before you can apply the oil with a dry, soft cloth. Examples of oils to use are Rapeseed oil, coconut oil, linseed oil, and any oil that’s not enriched with chemical substances.
It sounds like a beauty regimen, right? In a way, it is. Moisturizer nourishes oiled wood to give it a shiny look that makes it look almost brand new.
The moisturizer has several benefits:
Wood refinish involves the reapplication of a protective transparent or opaque coating of paint, varnish, or other material on the wood.
This process is significant because it:
This is now the final step to give the furniture a final glow and fresh scent. This is one of the things you should regularly do to ensure the longevity of your furniture.
Perhaps you’re wondering whether all these processes are necessary to restore the swollen wood. Yes, they are because wood is porous and requires effective solutions to seal off moisture. Damaged wood also requires delicate care to restore it to its original classic look.
Going forward, it’s recommended that you create a wood polishing schedule to protect your wood furniture.
If you’re wondering how to fix a swollen door and what the best solution would be, here’s what you need to do.
For minimal swelling wood, you can unhinge the door, resize by sanding slightly, perform the wood restoration and finishing processes to protect it for the long haul.
However, if the swollen wood damage is quite extensive, it might be a good idea to consider engaging a professional to sort it out or make suitable recommendations.
Again, since wood is porous, you’re bound to have incidences of swollen wood, especially if the humidity changes constantly. In this case, how do you fix a wooden drawer swollen shut?
If forceful pulling doesn’t solve the problem, try either of the following:
It’s important to take note of the causes of the swelling wood to ensure that the problem is immediately solved.
Wood swells and shrinks depending on the daily and seasonal levels of humidity in its environment. So, when the air is humid, swollen wood is the norm. On the other hand, when the air dries up, swelling wood shrinks.
To manage this process, you can initiate wood maintenance processes like oiling or polishing to slow the effects, but there’s no guarantee that this will completely stop them.
There’s also the option of using a dehumidifier to regulate humidity levels.
If you’d like to know more about furniture, especially how to go about selling, buying, and even maintaining it, read this informative article.
When you buy wood furniture, ensure that you find out all you can about how to maintain it.
You can’t avoid natural calamities like floods or accidents like broken pipes or water left running accidentally.
Your best defense is to equip yourself with knowledge of wood protection and maintenance.
That said, here’s a summary of the tips on fixing water-damaged swollen wood furniture.
And when you’re ready to sell your old furniture, consider listing on Sheepbuy. This up and coming marketplace that charges no commission on sales, and if you sign up to the basic tier, you can sell free of charge. Find out more about all our tiers, here.