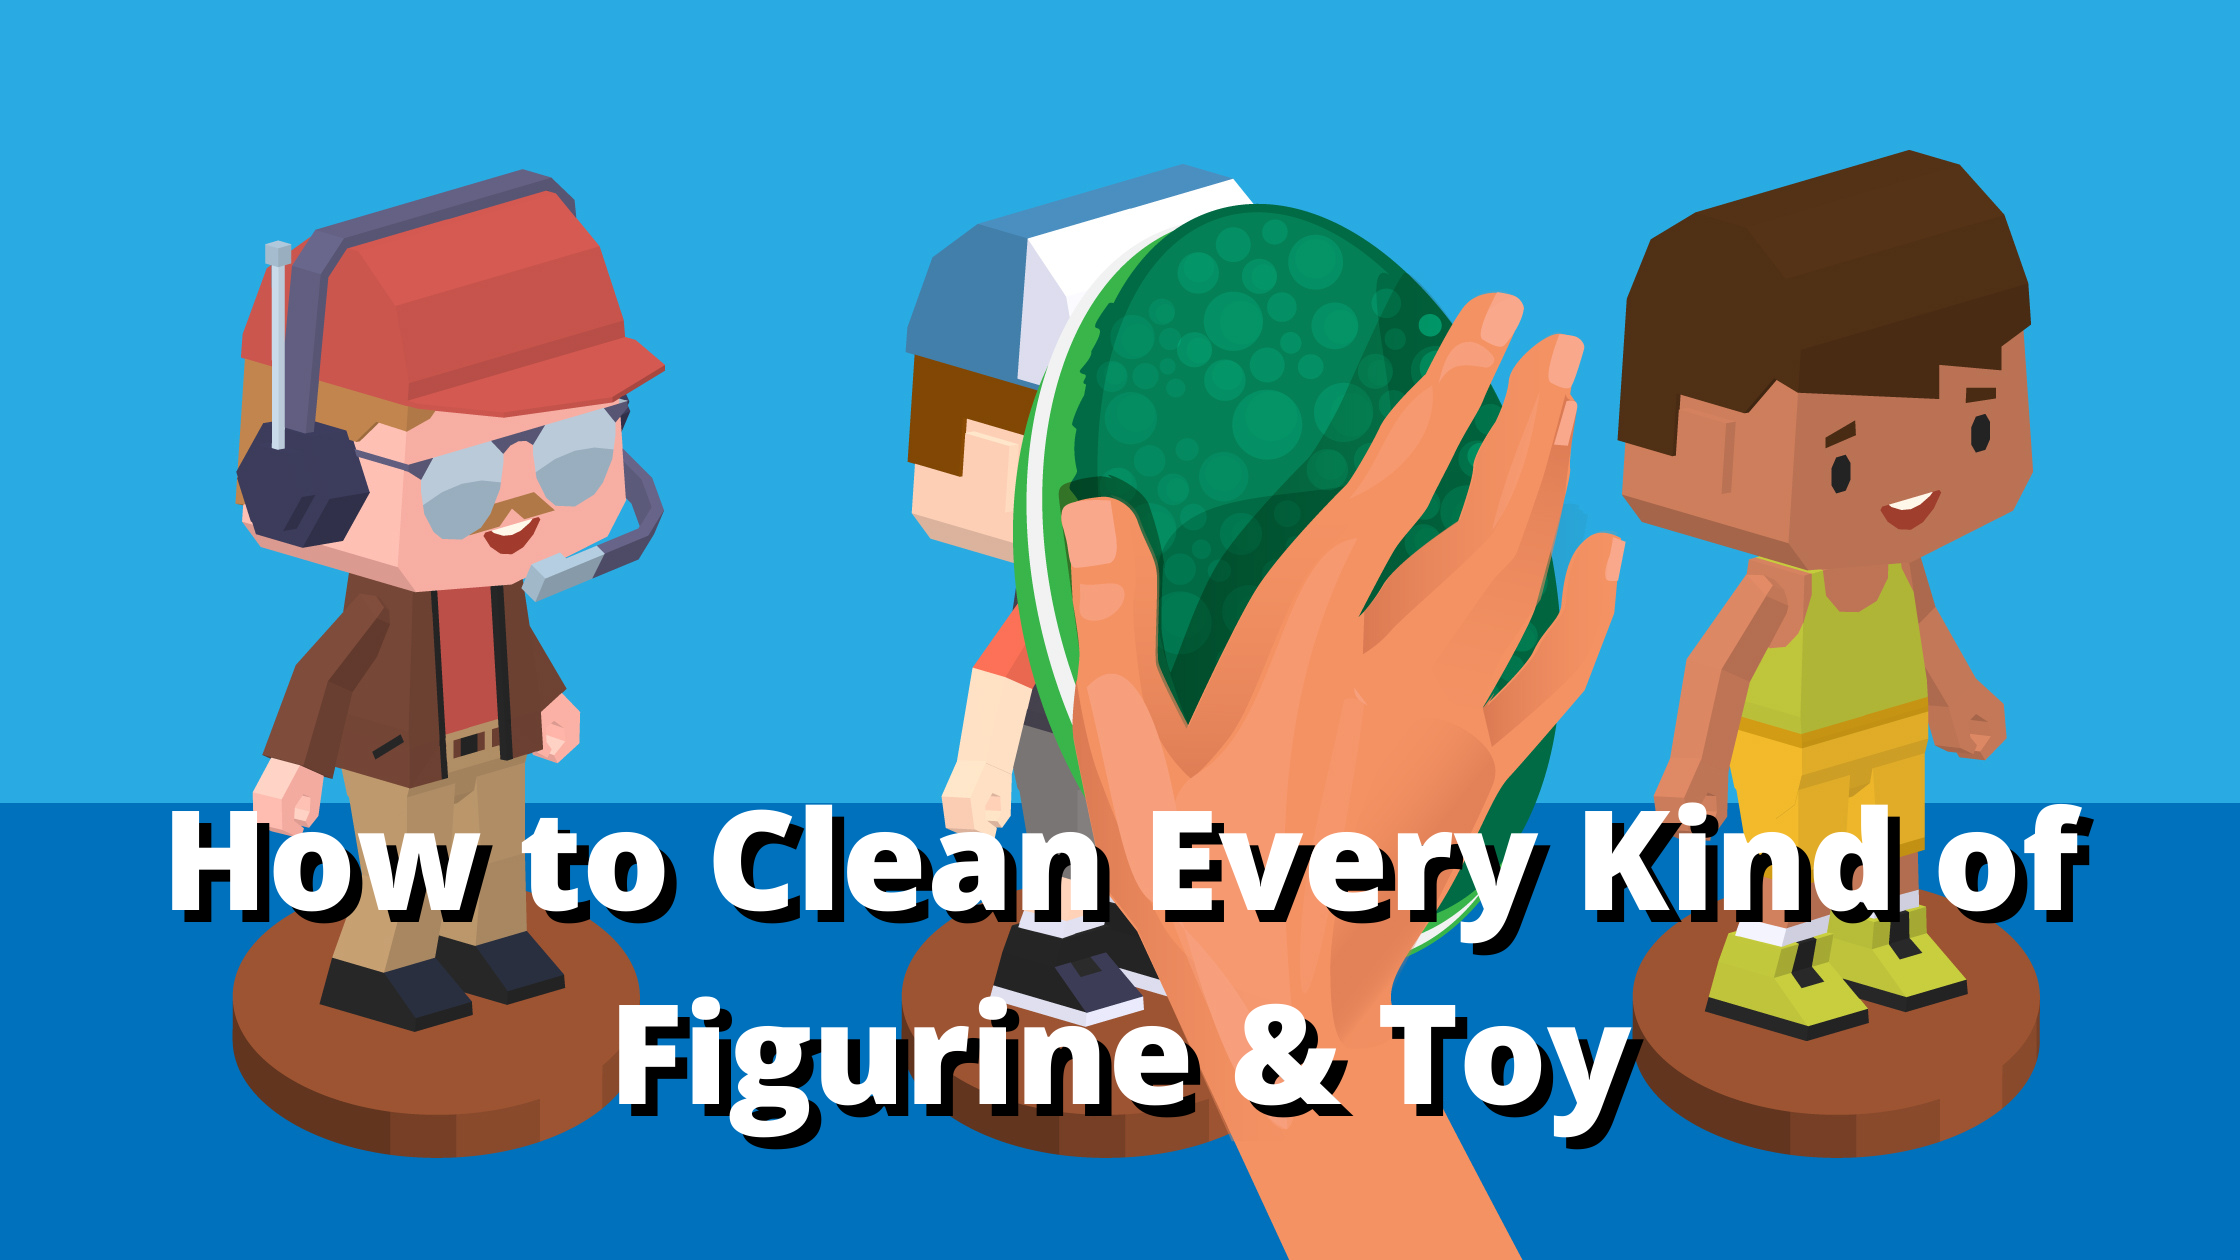
In this article, we’ll be going over how to clean figurines of all kinds.
We all have the best intentions when it comes to caring for the items we cherish. However, sometimes we need to give our collections some extra attention.
Whether it’s your favorite childhood action figure or that dainty porcelain figurine from the thrift shop, we’ll be telling you how to clean and maintain your precious figurines and toys.
Feel free to jump to whatever section you’re looking for:
At some point, we have all heard “Prevention is the best medicine” when it comes to our health. But did you know that saying also applies to the health of our collectibles?
Here are some basic rules that will keep your figurines and toys looking fresh:
Regular dusting. Dust is the most common and easiest problem to fix when it comes to keeping your collectibles clean. It’s recommended that you use a soft paintbrush or duster to brush away any dusty build-up gently.
Proper storage and display. When displaying or storing your figurines, it’s best to keep them out of direct sunlight to prevent colors from fading. Keeping moisture at bay is also a must, so it’s good to pack your collectibles with a few silica packets. Investing in a dehumidifier is also a great idea if you live in a humid area.
Control the storage temperature. Preventing your storage space from becoming too hot or too cold will prolong the life of your items. Extreme heat can cause plastics to melt and warp, and freezing temperatures can cause cracking.
Let them breathe. While your batman action figure isn’t alive, the PVC material he’s made of needs some air. Action figures can become sticky to the touch when the plasticizer that softens the PVC begins to vaporize and can’t escape. Providing proper circulation will also prevent moisture that causes mold.
Avoid excessive handling. Natural oils and contaminants on our hands can cause stains or smudges. Also, keeping touching to a minimum will reduce the risk of accidents.
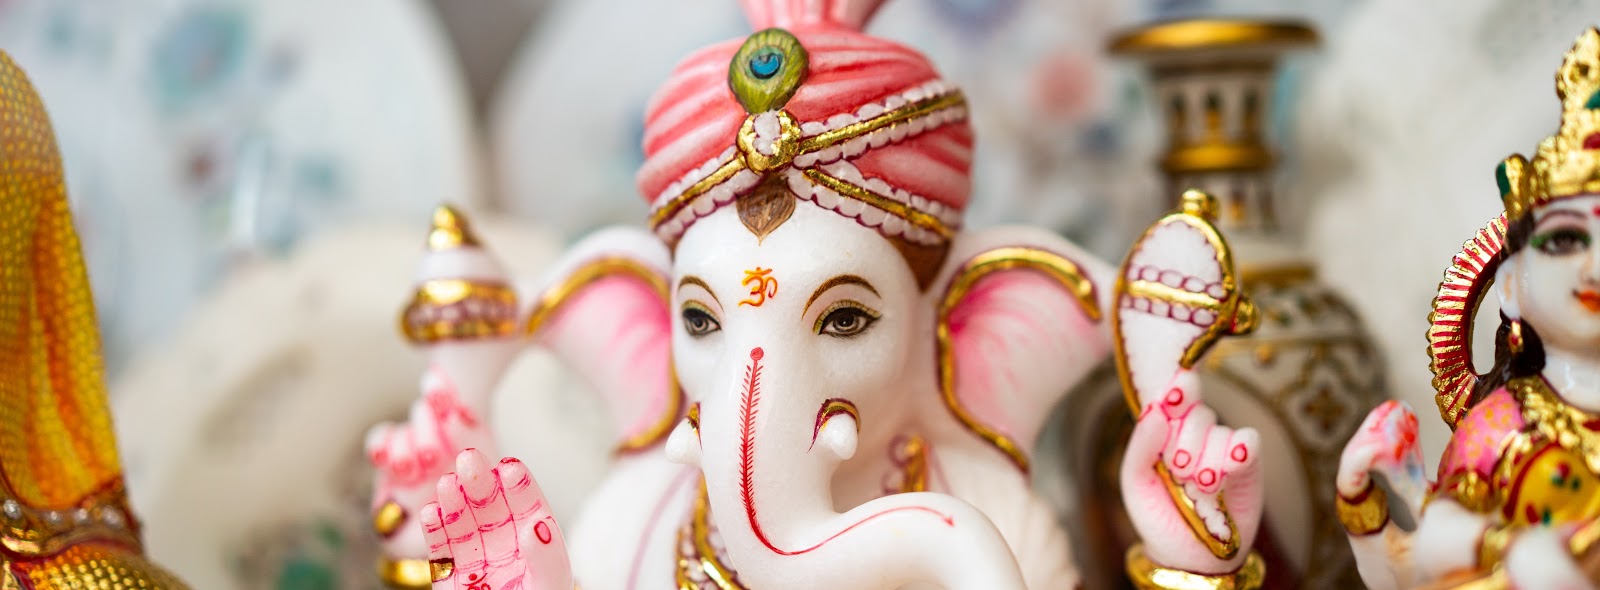
How to Clean Porcelain Figurines
A few things to keep in mind before you start washing your porcelain figurines are never to use abrasive or corrosive cleaners (No bleach or ammonia) and never use your dishwasher.
Now let’s get into how to clean your porcelain figurines like a pro.
First, you’ll need to create a safe workspace. Place a thick towel on a flat surface; this will help reduce the chances of damaging your figurine.
Start by using a soft-bristled paintbrush to brush away any debris carefully — make sure to get into the crevices.
Next, fill a container with lukewarm water and some plain dishwashing liquid soap. Ensure that the dishwashing liquid doesn’t have moisturizer in it because this can leave behind an oily residue.
Important: Do NOT fully submerge your porcelain in water. Many figurines have hollow spaces, and if water gets trapped inside, this can lead to mold, and the moisture will weaken the porcelain. If an area is chipped, avoid getting that area wet.
Now dampen a soft cloth or soft-bristled brush in the soapy water and gently wipe or dab the figurine’s surface. If there is some stubborn grime, it’s ok to rub with a little more pressure, but keep in mind that a heavy hand can damage your item.
Now that you have finished cleaning, it’s time to dry. It’s best to dab the porcelain with a dry cloth and then set it on a dry towel to air dry the rest of the way.
If you have stubborn stains or porcelain that’s damaged, it’s best to seek expert advice. Using the wrong method or cleaning product can make a small issue into something that can’t be repaired.
How to Clean Vintage Toys
Vintage toys have to be cleaned gently because of their age, and the materials that were once used to manufacture toys need to be taken care of differently.
With that said, skip down to the tutorial that best fits your type of toy.
How to Clean Wooden Toys
Even today, wooden toys are a classic choice for small children. They’re fairly durable and easy to maintain.
As a vintage item, we want to maintain the health of these toys for future generations to enjoy.
Keep in mind: Wooden toys shouldn’t be soaked in water as this can break down and warp the wood as it’s a porous material.
Take the toy and use a soft cloth or brush to wipe off any dust or debris.
Fill a container of lukewarm water and plain dish soap. Dampen a soft cloth and use that to wipe down the surface of the toy.
If there’s a heavy build-up of grime, you can use a kitchen scouring pad.
After wiping down the toy, blot it with a dry towel and set to air dry the rest of the way.
Once the toy has been completely dried, it’s recommended to apply a fresh layer of wax or oil to condition the wood.
Sometimes wooden toys have a build-up of wax and polish. In this case, it’s permitted to use turpentine and a clean cloth to break down the old wax layers.
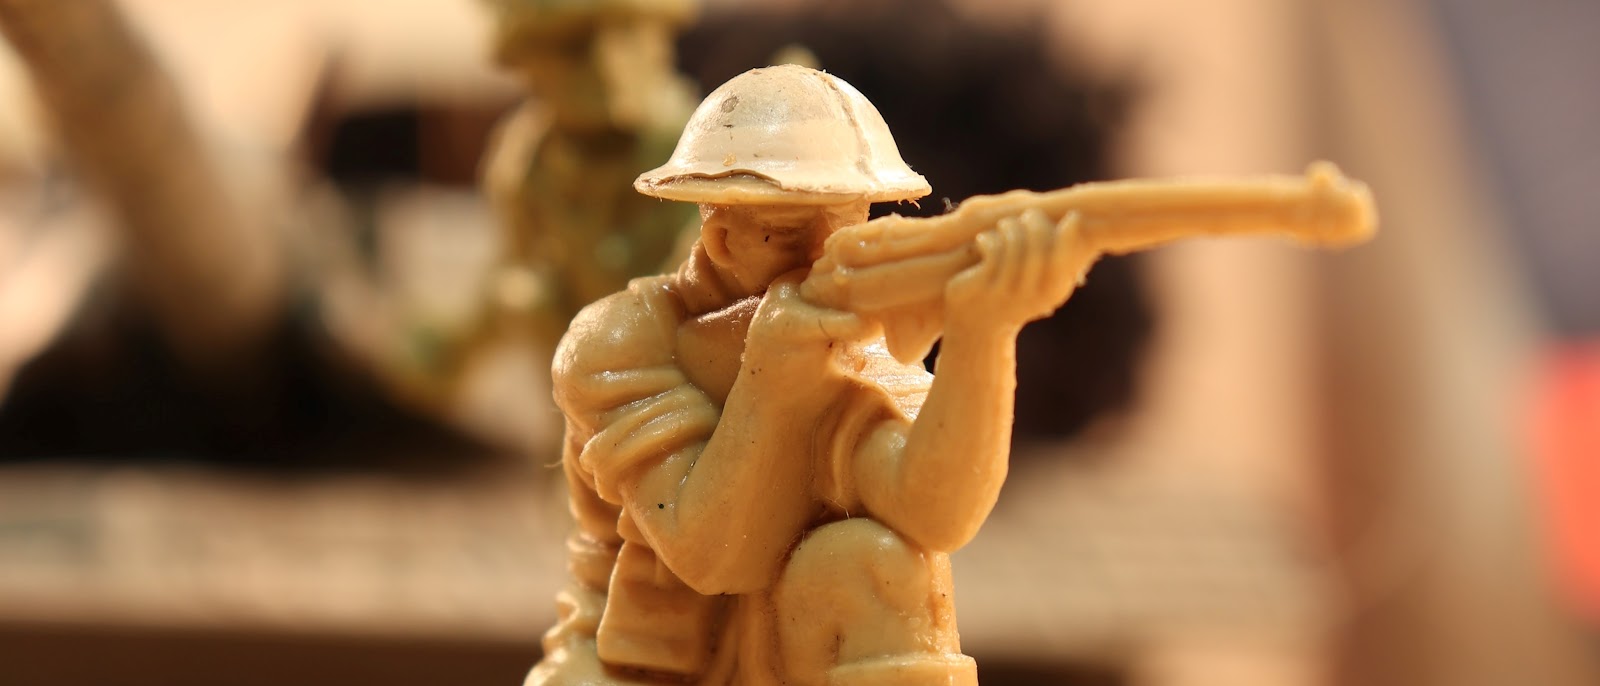
How to Clean Plastic Toys
Plastic is the material that remains the most commonly used when manufacturing toys. It’s also the easiest to clean.
If possible, disassemble the toy then dust each piece with a dry cloth or brush.
Using lukewarm water and plain dish soap scrub each piece. If the toy has hollow pieces or stickers, you should not submerge it in the water.
If there are stubborn marks, such as crayon or pen on the plastic, you can dampen a cotton ball or q-tip with paint thinner and wipe it until it disappears. It’s best to test the paint thinner on a discrete area of the toy before using it in noticeable areas. Remember to avoid using paint thinner on painted areas and stickers decals.
Now that your toy is clean — dab it with a cloth and then set it to air dry before reassembly.
2 Ways to Restore Faded Plastic Toys
With time and exposure, plastics begin to decompose, causing that once shiny toy car to fade. Thankfully there are a few things you can try at home to restore the shine and color to your aging plastics.
Method #1
For plastics with mild fading, it’s best to try conditioning the plastic with oils before moving on to more aggressive methods. This method is very simple.
You’ll start by cleansing the surface with lukewarm water and liquid dishwashing soap. Scrub clean with a brush or cloth. Then rinse.
After rinsing thoroughly, dry the plastic with a cloth or paper towel.
Then, take a clean, dry cloth and wipe away all the oily residue from the surface.
Method #2
The second method of restoring plastic we’ll explore is the sanding method. By using sandpaper, we can remove the outer layer of plastic that has dulled. This method works best on hard plastics.
Before you start sanding down the plastic, it’s important to start with a clean surface. Prepare a container of lukewarm water and plain liquid dish soap. Take a sponge or cloth and scrub any debris from the surface. Then rinse.
Now that the surface has been cleansed, the hard work begins. For this technique you’ll need to purchase wet/dry sandpaper and will need:
220 grit
400 grit
800 grit
1200 grit
1500 grit
2000 grit
The wet/dry sandpaper will need to be soaked in warm water before use. Once it has been soaked, you will start with the 220 grit (the most coarse) and sand the plastic’s surface as evenly as possible. Once you have covered the entire surface, you’ll rinse the plastic with water and repeat with each grit from coarse to fine.
Once you have reached the 2000 grit, your plastic surface should be shiny and restored to the original color. And as a final step, you should apply a layer of boiled linseed oil with a cloth to condition the plastic. After applying the boiled linseed oil, take a clean, dry cloth and wipe the oil off.
How to Clean Metal Toys
When cleaning metal toys, rust can be a hurdle. Rust corrodes metal, and it’s crucial to inspect the integrity of the toy before continuing with any cleaning or rust removal.
Dealing with Just Dirt
If possible, disassemble the toy, then take a cloth or brush to remove any dry debris or dust.
Once dusted, fill a container with lukewarm water and liquid dish soap. Then, scrub the toy clean using a cloth or brush. Instead of rinsing, use a damp cloth to remove dirt and soap.
Once you’re finished cleaning, dry off the toy as best you can with an absorbent cloth or paper towel to prevent rust. Once it’s thoroughly dry, reassemble the toy.
How to Clean a Rusty Metal Toy
For minor rusting, you can try to use an oil spray. Spray the oil onto the rusted area and clean with a dry cloth. If that doesn’t work, onto step 2.
It’ll take some extra effort to get rid of stubborn rust. You should take fine-grit sandpaper or steel wool and scrub the affected area till the rust is gone.
Once your mental toy is clean and rust-free, you can polish it with linseed oil. Linseed oil will make it shine and help prevent future rusting.
How to Clean Plush Toys
One of the most challenging vintage items to clean is plush stuffed toys.
With time fabric can deteriorate, the stuffing begins to smell strange, and our childhood friends get matted fur.
If your favorite vintage plush is of high sentimental or monetary value, it’d be in your best interest to find a professional.
If you want to take the DIY approach, here are some steps to follow since throwing your plush in the washer and dryer isn’t an option.
First, you need to assess the condition of the plush. Does it have spots that are worn? Are there tears or weak seams? You’ll need to be extra gentle when working in these areas.
If you’re confident in your ability, remove the filler before cleaning. With older plushies, the fillers degrade and hold smells, so they’ll need to be replaced anyway. If you choose to take this step, remove some stitching from a discrete seam and take out the old filler.
Whether or not you remove the filler, the next step will be to remove any dry debris. One way to do this is to use a vacuum hose attachment on the plush gently.
Next, spot-treat any stains with a laundry stain remover and let sit for the recommended amount of time on the bottle.
Now use a toothbrush to apply carpet-cleaning foam and gently work the foam into the material. Then take a clean cloth and wipe away the foam.
Pat dry with a clean towel.
If your vintage plush is fuzzy, a wire brush can be used to loosen and fluff matted fur.
If you removed the filler, it’s time to stuff your friend with new fluff and sew him up.
How to Clean Action Figures
Action figures are a popular collectible item. The most common material used is PVC (polyvinyl chloride).
However, figurines are also created from resins, ABS (acrylonitrile butadiene styrene), and vinyl. Regardless of the material, cleaning is the same. Don’t use hot water, abrasive cleaners, or scouring pads.
This may seem redundant, but dusting your action figure should always be the first step to cleaning. This can be accomplished with the help of a soft paintbrush or a can of compressed air.
If your hero can be disassembled, please do so now.
Fill a container with lukewarm water and liquid dish soap (with no moisturizers) and use a soft-bristled toothbrush to scrub the figurine. If there’s a lot of grime, it’s permissible to let it soak for a few minutes.
Now that all the dirt has been loosened, you can rinse.
Dry the action figure thoroughly before reassembling.
If any marks can’t be removed with plain soap and water, a magic eraser is a great tool. Simply wet the magic eraser and gently scrub the area.
How to Fix Paint jobs on Action Figures
For a good paint job, you’ll need acrylic paint that’s been formulated to adhere to plastic and some paintbrushes. It might seem tempting to buy the bargain brand acrylics, but they will quickly begin to chip and peel.
Before you begin painting your action figure, you’ll need to clean the surface with soap and water thoroughly. Then dry with a paper towel or cloth.
Next, pour out a little bit of paint into a small container. Here, you may need to mix colors to get the right match.
It’s recommended that you thin the paint with a drop or two of water. Thinning the paint will help the application go on smoother.
Now apply the paint to the area you want to fix. It’s better to work in thin layers than to slather on one thick coat. This may take some patience, but you’ll need to allow the paint to dry between each application.
Once you’re satisfied that the job is done, allow the paint to dry. This can take a few hours.
Conclusion
Hopefully, after reading this guide for basic cleaning and restoration, you’ll feel confident about caring for your figurines and toys. If there’s something you’re unsure of or have questions, a little research will go a long way, and don’t be shy to consult an expert.